Table of contents
I./ Download quickstart package
II./ Upload package on server
- Option 1: Upload quickstart on your cPanel hosting account
- Option 2: Upload quickstart on FTP Clients such as FileZilla or CyberDuck
- Option 3: Upload quickstart on localhost using XAMPP
I./ Download quickstart package
* With PRO versions, this quickstart package includes WordPress core, template, all features and sample data as live demo site. So, WordPress install first is not required. You download [theme-name]_wp.zip which you just install to get theme and sample data like our demo site, access all template features. So, you just replace demo content with your content to save development time.
After you buy PRO version, you can login to Customer Area and download [theme-name]_wp.zip, you unzip it and you will get file ‘[theme-name]_wp_quickstart_package.zip’. Next, you unzip quickstart package file and you will get two quickstart install files.
II./ Upload package on server
Option 1: Upload quickstart on your cPanel hosting account
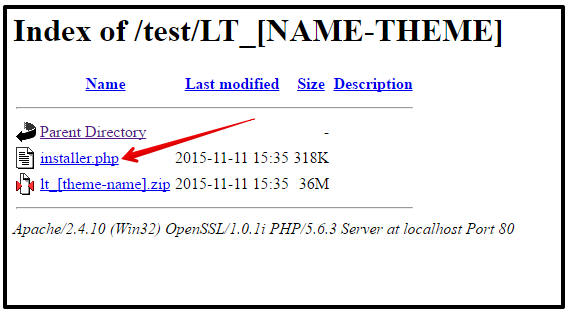
Through FileZilla or another FTP software, upload all files (zip archive and installer.php) from QuickStart Package folder to your website directory.
In the directory should be one zip archive and one file installer.php
Step 1: Upload theme Quickstart files
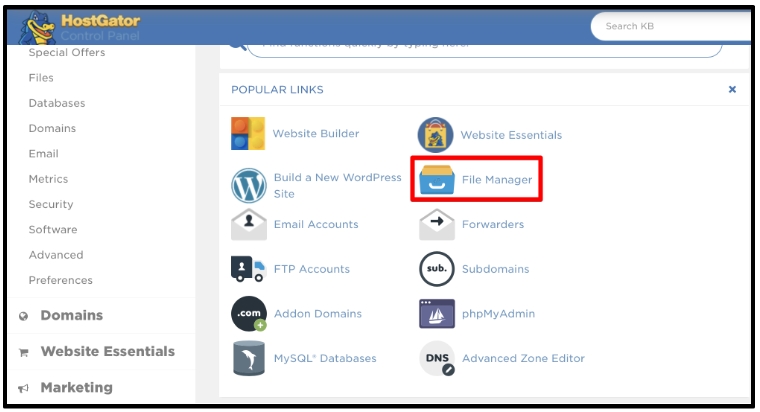
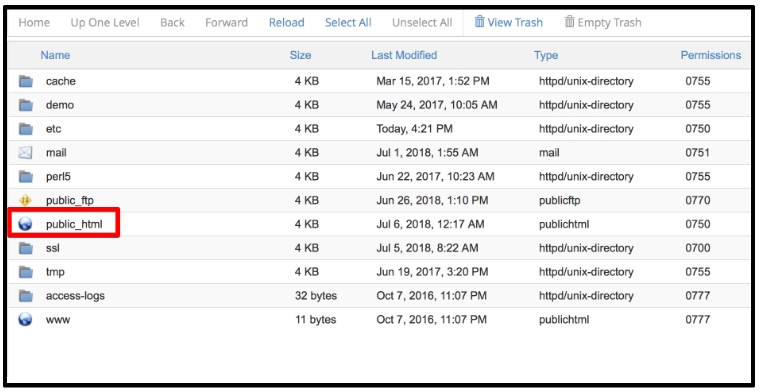
If your hosting support cPanel (such as Hostgator.com), you can go to cPanel > File Manager, go to your website folder and upload theme Quickstart files.
Step 2 : Create New database
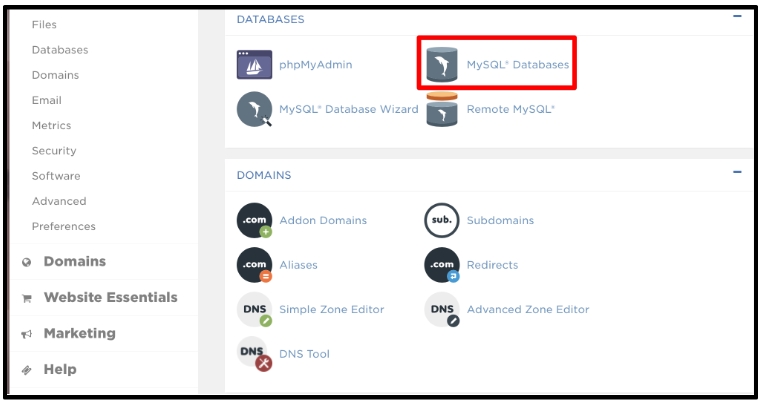
Create new database for your website via Database Manager in Hosting controls. If you don’t know how to create database, just read hosting user guides or contact hosting support staff.
Step 3: Run Install Panel
Last, run install panel by access, just run file ‘installer.php’ by go to http://yourdomain.com/installer.php, after uploading all the files, let’s move to section III to continue installing Quickstart package
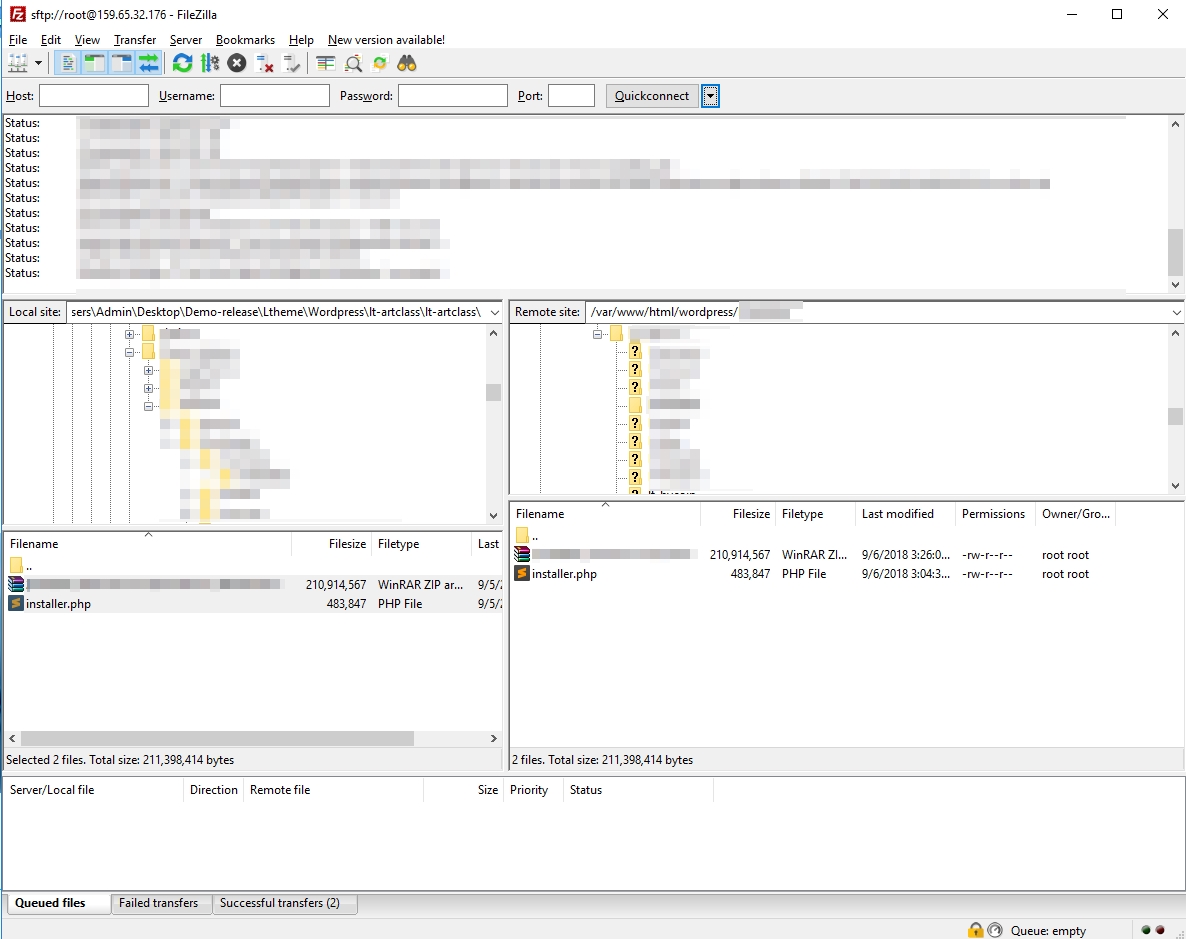
Option 2: Upload quickstart on FTP Clients such as FileZilla or CyberDuck
Upload quickstart files via FTP: access your hosting cPanel, create FTP account and link to your website folder (normal it’s “public_html” folder). Once you connect, simply browse your local drive to upload from the Local Site window on the left. Drag the files to an appropriate folder in the Remote Site on the right, e.g. /var/www/html/wordpress
Last, run install panel by access, just run file ‘installer.php’ by go to http://yourdomain.com/installer.php, after uploading all the files, let’s move to section III to continue installing Quickstart package
Option 3: Upload quickstart on localhost using XAMPP
Installing quickstart package on local host is straightforward but can be tricky the first time you attempt it. So for this step we’ve provided instructions on how to do it right from scratch.
Now, in order to run quickstart package, you need not only a web server, but also 2 more things: PHP script interpreter and MySQL database system. It sounds complicated but thankfully, there is a single package called XAMPP with all the elements included.
Let’s install XAMPP on your computer.
Step 1: Installing XAMPP
- Download and Install XAMPP Locally on PC/Windows
- Run the installation file as you do with regular software and follow the step by step instructions.
- Open “XAMPP Control Panel Application” and start “Apache” and “MySQL”.
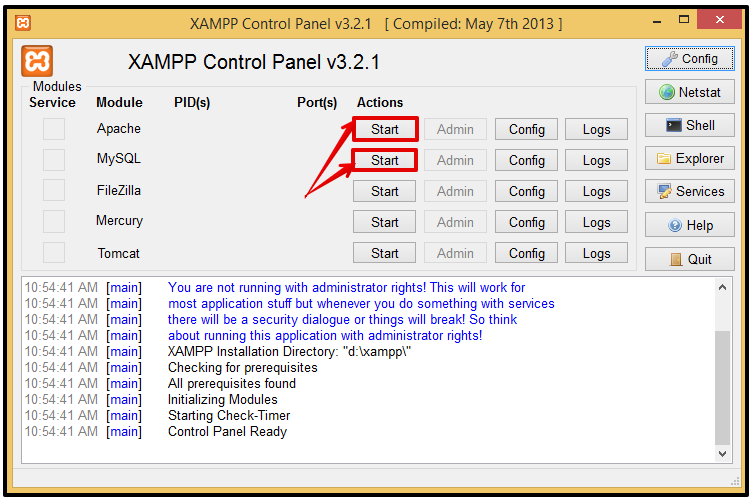
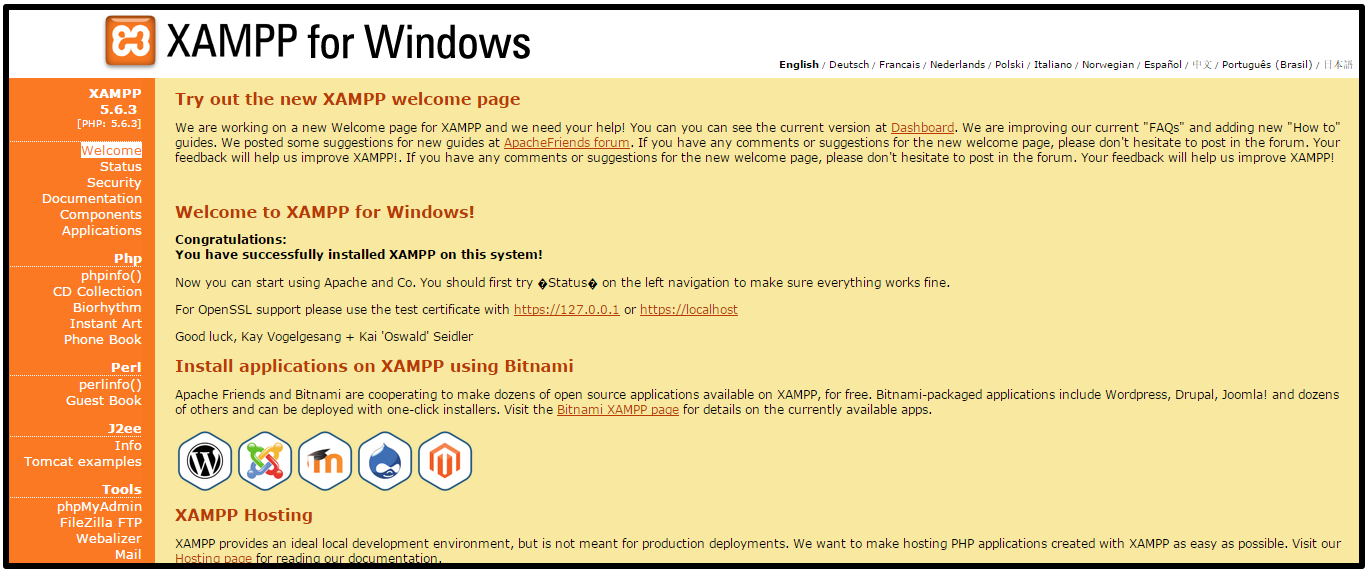
That’s it, your localhost is now installed. You can check if it works or not by typing the address: “http://localhost” in your web browser. You should see a page as illustrated below.
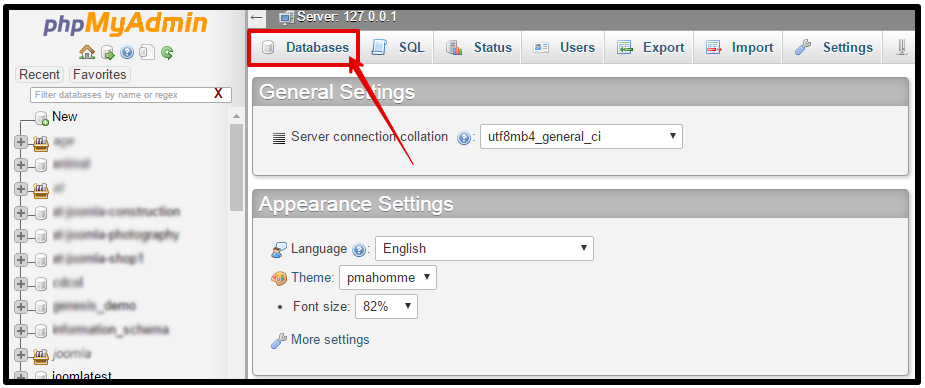
Step 2: Create a database in phpMyAdmin.
From the XAMPP interface, click phpMyAdmin to start creating database.

Next, click Database in the toolbar as illustrated in the following
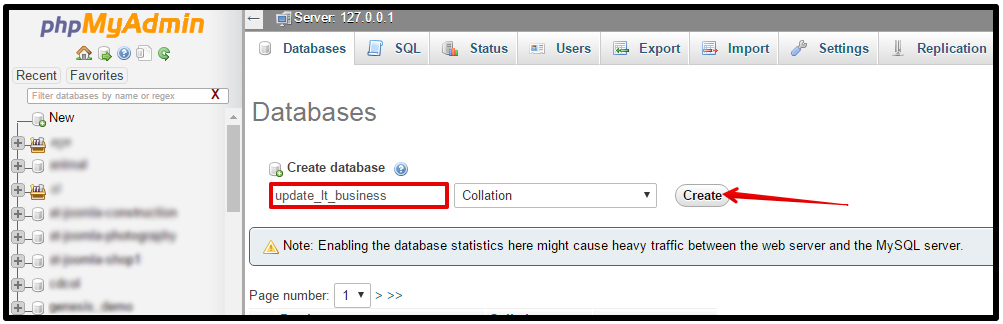
And enter the database name and then click “Create”
Now you are ready to install quickstart package.
Step 3: Create a new folder in older “htdocs” in XAMPP folder.
– Create a new folder entitled “test-quickstart” in folder “Test” in folder “htdocs” in XAMPP folder. Normally it will be located at “C:\xampp\htdocs”.
– Unpack the downloaded package file into the folder “test-quickstart”.
– Go to the URL “http://localhost/Test/test-quickstart”.
– Last, run install panel by access, just run file ‘installer.php’ by go to http://yourdomain.com/installer.php, after uploading all the files, let’s move to section III to continue installing Quickstart package
III./ Install quickstart package
Step 1: Run the Duplicator Installation Wizard
NOTE: Having a localhost environment is an essential part of WordPress workflow – You couldn’t run WordPress Locally on PC/Windows without it. Setting up XAMPP on your Windows machine is by far no easy feat, let us help you! But once it’s installed, it’s a breeze to run and will save you a bunch of time if you need to run WordPress or Joomla locally.
Open your web browser and go to the folder that you uploaded your QuickStart Package and enter the installer.php.
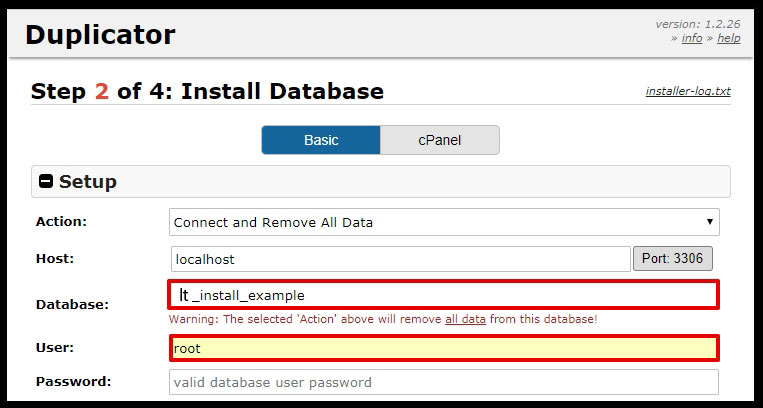
Step 2: Enter your details of MySQL database
If everything is done right you will get status “Pass”. Please, click button “Next”
+ Action:
‘Create New’ will attempt to create a new database if it does not exist. This option will not work on many hosting providers. If the database does not exist then you will need to login to your control panel and create the database. If ‘Connect and Remove All Data’ is checked this will DELETE all tables in the database you are connecting to as the Duplicator requires a blank database. Please make sure you have backups of all your data before using an portion of the installer, as this option WILL remove all data. Please contact your server administrator for more details.
+ Host:
The name of the host server that the database resides on. Many times this will be localhost, however each hosting provider will have it’s own naming convention please check with your server administrator.
User: root
Password: empty
Name:
The name of the database to which this installation will connect and install the new tables onto.
Step 3: Click button “Test Connection“
If everything is done right you will get status “Success” for server connection and database found. If not, please check again paragraph 3 of this tutorial.

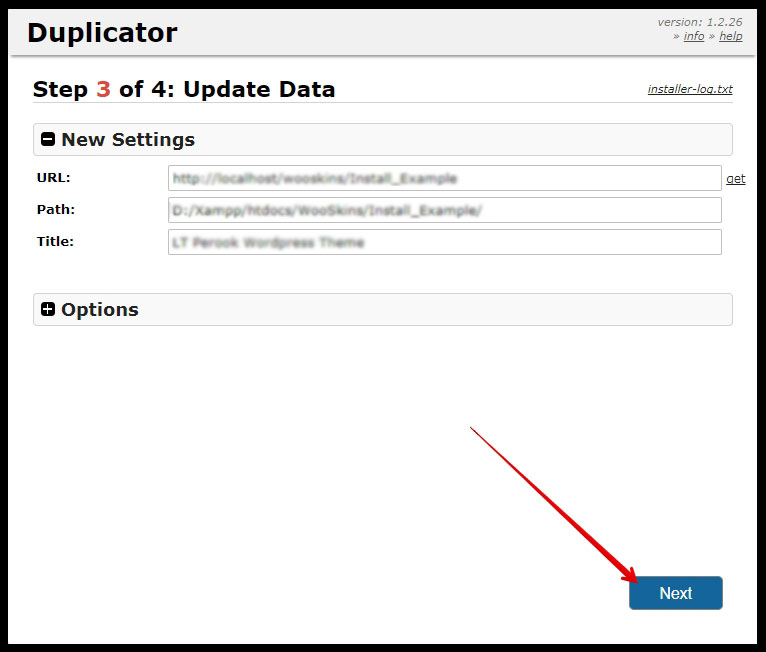
Step 4: Data Replacement
This step check Site Info and URL. At this step Option, you can define new username and password for administrator account.
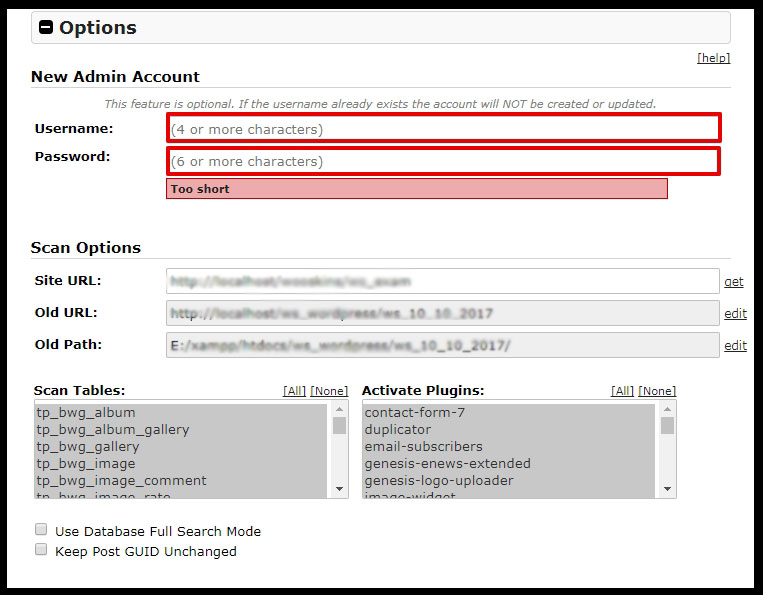
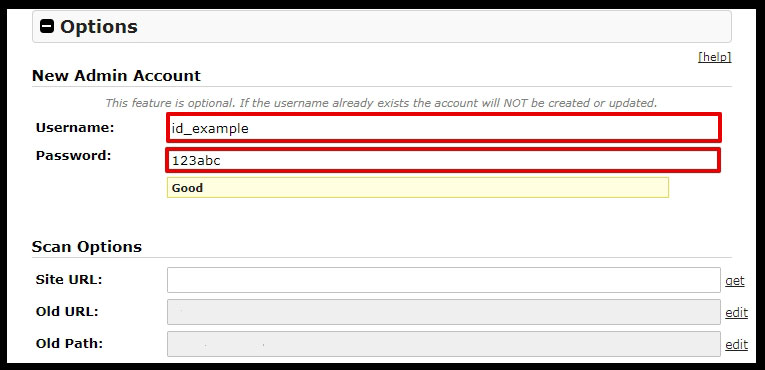
I recommend you should enter new password, if not you can use default password that I created in the last time when I genera this quickstart package.
The default administrator account with the username : admin and the password you want to use when login the admin Joomla Dashboard. ( Exp: password is abc123)
Step 5: Check URL and click button “Run Update“
Step 6: Finish and remove important data
– You can click to ‘Site Login to see how your website look like.

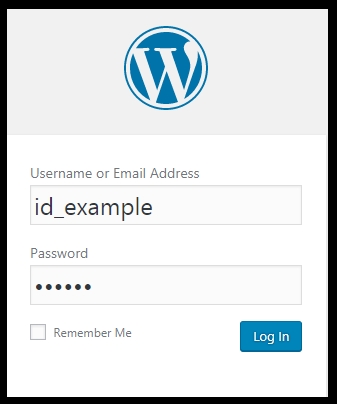
Congratulations, your quickstart package is now installed.
Note: All photos used on our template demo site get from free image resources such as unsplash.com and freepik.com, so you can use it for your website.
IV./ Video Instruction
For more details instruction you can see video below:
- How to Configure Tax of EU Stores in J2store? - March 21, 2019
- How to Configure Tax for Canada Stores in J2store? - March 19, 2019
- How to Configure Tax for US Store in J2store? - March 19, 2019


Recent Comments