
WordPress is the most popular open-source CMS in the world, which allows you to create and manage any kind of website. Compared with other open-source platforms like Joomla and Drupal, WordPress is the easiest to use and the friendliest, and it has a clean permalink structure, and many other remarkable features.
In addition, WordPress is well-known for its ease of installation. In this post, we share with you how to install WordPress simply and quickly.
Step 1: Download the WordPress installation package
To download the WordPress installation package, go to https://wordpress.org and click on the DOWNLOAD button.
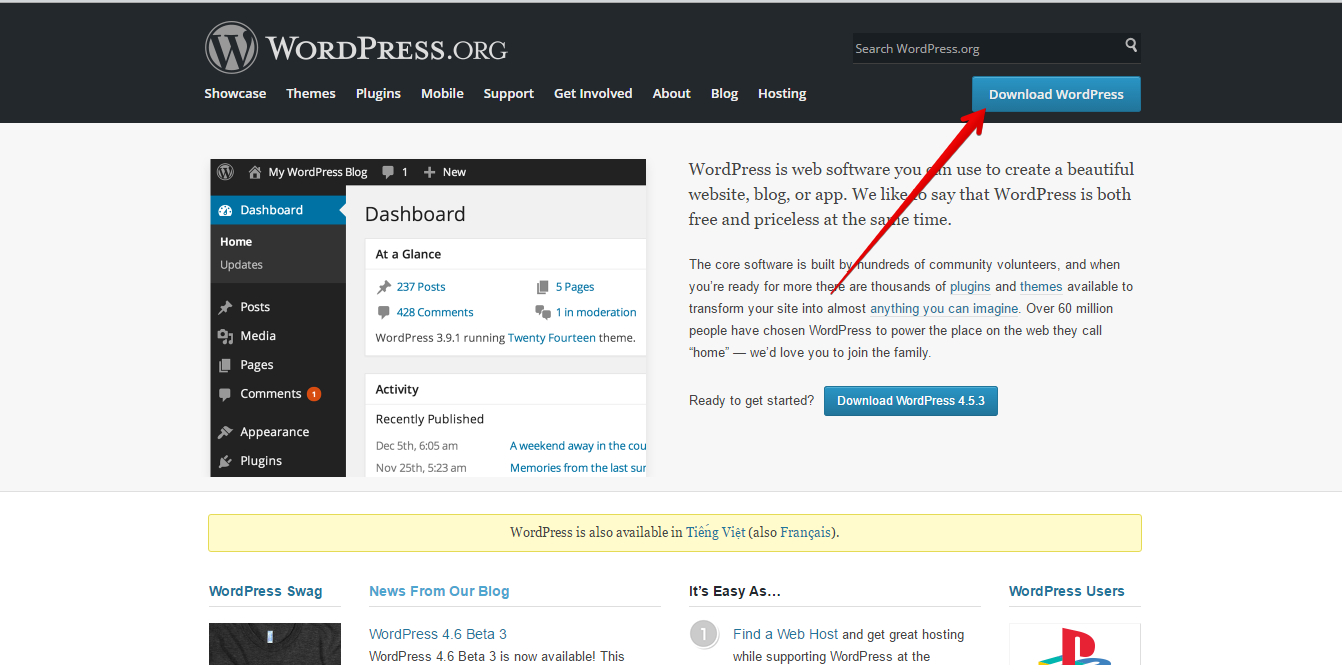
The installation package will be saved to your hard disk. Unzip the downloaded file to a new folder.
Step 2: Upload the WordPress files to your server
Now, you can upload the installation files via FTP (File Transfer Protocol) using a client application like FileZilla.
If you want this WordPress installation to be the main one for your website, the files should reside in the public_html folder of your account.
You can also upload the WordPress files via cPanel as follows:
– Log in to cPanel -> click File Manager.
– Select Web Root and Show Hidden Files and click Go.
– Click to open the folder to which you’d like to upload files.
– Click Upload -> Click Browse.
– And finally, select the file you want to upload.
Step 3: Create a MySQL Database for WordPress to use
In order to create a MySQL database on your hosting account, you need to log in to cPanel. You can use the cPanel button in the Customer Area -> My Accounts section or enter one of the following URLs in your web browser: http://yourdomainname.com/cpanel or http://cpanel.servername.com
- Log into cPanel.
- In the Databases section, click the MySQL Database Wizard icon.
- Create A Database, enter the database name and click Next Step.
- Create Database Users, enter the database user name and password and click Create User.
- Add User to the Database, click the All Privileges checkbox and click Next Step.
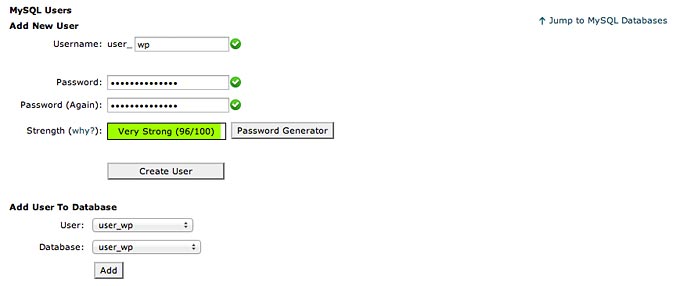
Step 4: Go through the installation process
If you have uploaded WordPress to your public_html directory, you’ll need to go to http://yourdomain.com in your preferred browser. Then follow the instructions below:
- Just click on the Create a Configuration File button to proceed. Then press the Go! button.
- Enter the details for your newly created MySQL database and press the Submit button.
- When you finish entering the necessary information, it will show a confirmation screen. Press the “Run the Install” button to proceed.
- Enter the information about your administrative username and the title of your new site.
- Press the Install WordPress button.
Your new WordPress application is installed.
Note: You should specify a real email address. It can be used later in case you forget your password.