
Introduction
What is a favicon?
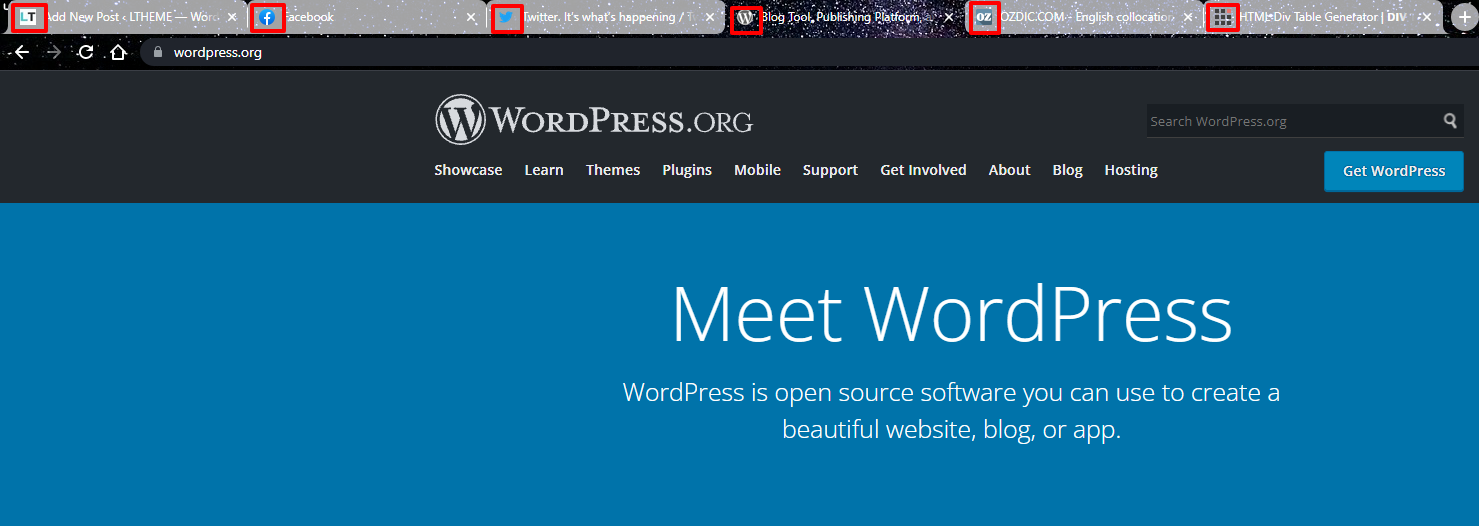
Favicon, also known as site icon, is a small image that stands next to the website title in any browser. As you can see in the image below, favicons are the icons that we have framed in red for easy identification.
Why should you have a favicon for your site?
First of all, a favicon will help you establish your identity as well as branding for your website. Besides that, it also provides a great experience for users as they rely on it to easily recognize multiple tabs open at the same time on the browser. With a favicon, they will save time and effort when looking at the favicon and easily switch to the tab containing the website they want.
So, a question arises, how to add a favicon to your WordPress website conveniently and quickly? In the blog today, we will give you the answer along with detailed instructions. There are 2 ways to do that:
- Adding a favicon via the admin area
- Adding a favicon with code
Now, let’s explore the following guide!
How to add a favicon to your WordPress site
Before adding a favicon, you should make sure that you are able to generate a favicon via the image editing programs, such as Adobe Photoshop, Gimp, etc. The size of the favicon should be 512×512 pixels. Moreover, you can create and save it in gif, png, or jpeg format.
Adding a favicon via the admin area
From WordPress version 4.3, you can add a site icon directly in the admin area. All you need to do is choosing Appearance -> Customize -> Site Identity.
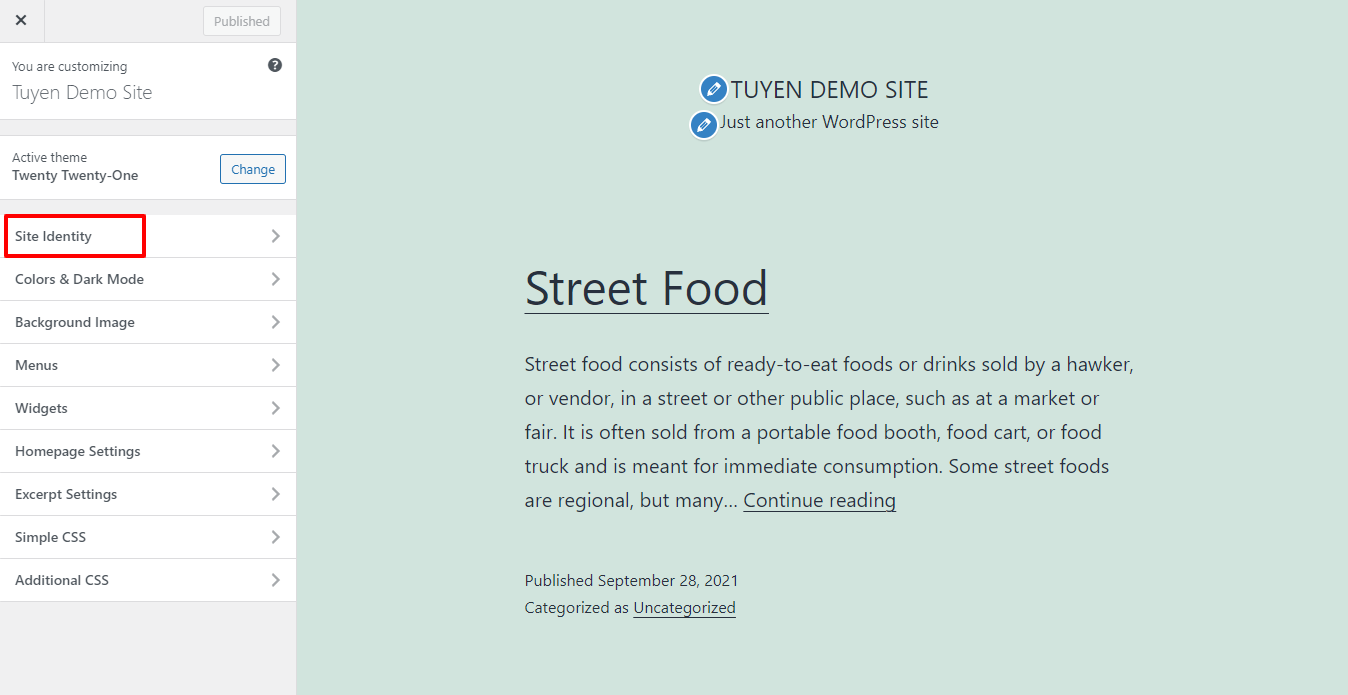
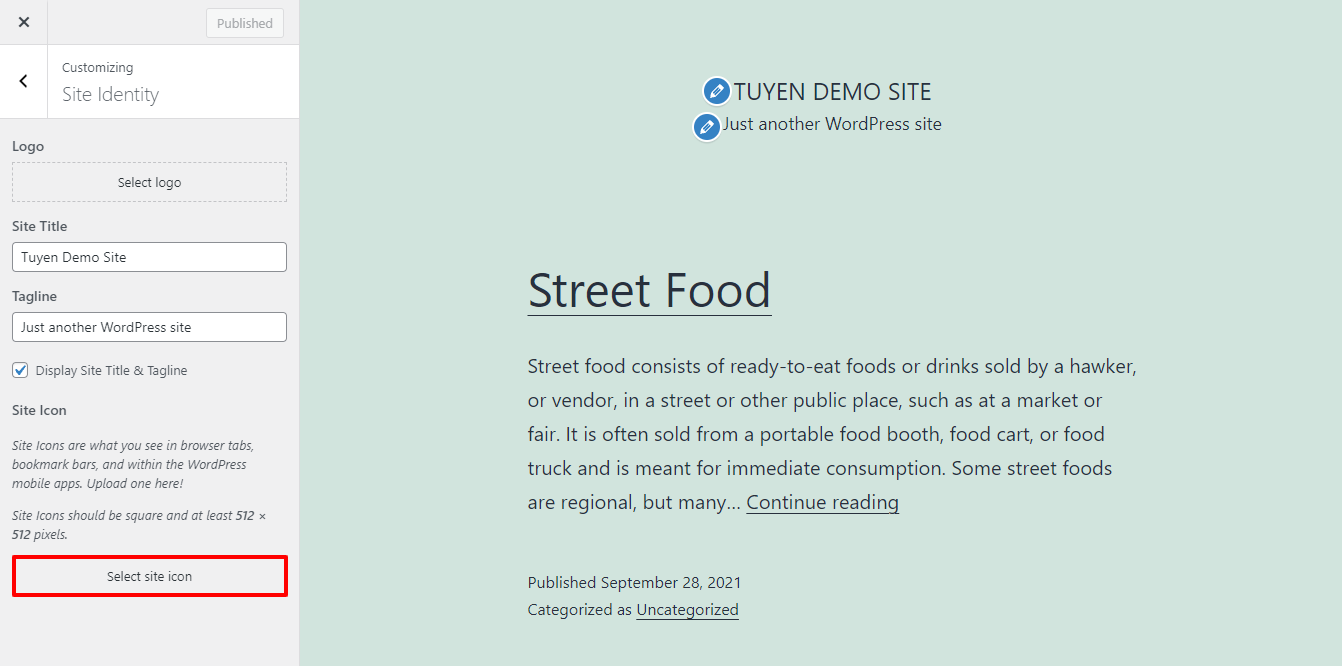
In this section, you are able to edit the site logo, site title, tagline as well as site icon in your own way.
If the size of the site icon is bigger than the recommended size, you can freely crop it to fit the recommended size exactly.
Don’t forget to save or publish your settings after completing the changes.
Adding a favicon with code
This method is suitable for those who have older WordPress versions (4.2 or below). In order to do this way successfully, let’s access the site’s root directory via FTP. Then, in the theme’s header.php file, you just need to add the following code:
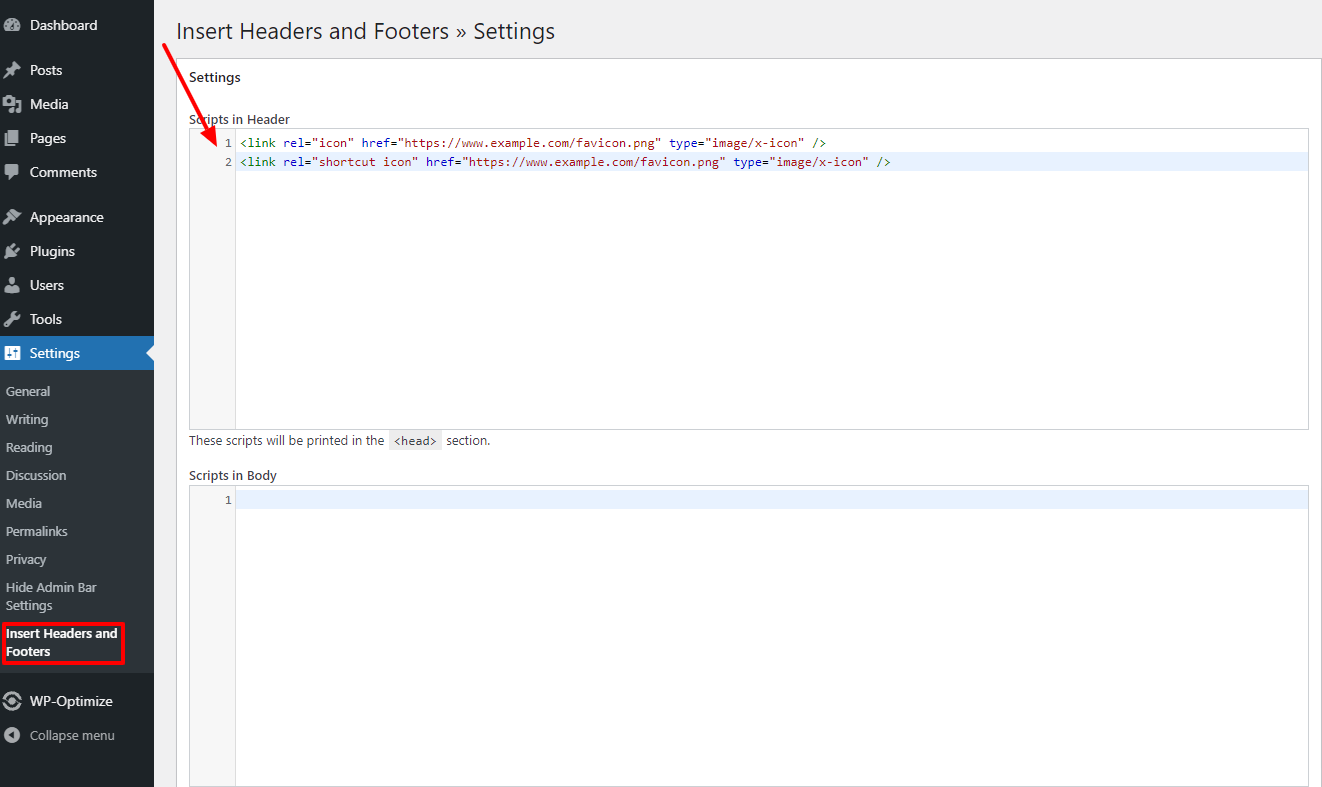
<link rel="icon" href="https://www.example.com/favicon.png" type="image/x-icon" />

<link rel="shortcut icon" href="https://www.example.com/favicon.png" type="image/x-icon" />
In this code, you need to change example.com into your site URL.
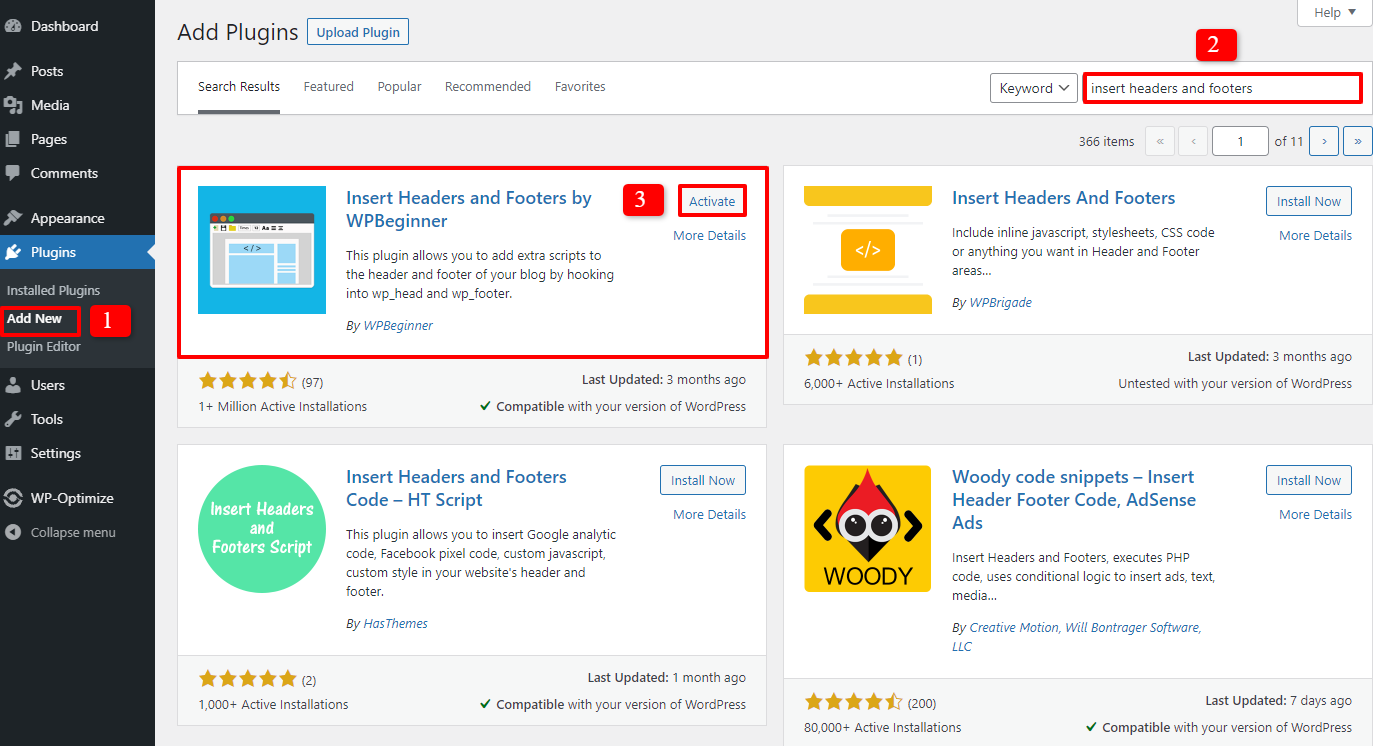
In case you can’t find or don’t have the header.php file, let’s install and activate Insert Headers and Footers – one of the most popular WordPress Header and Footer Plugins.
Now, you need to go to Plugins -> Add New, then type the name of plugin you are looking for. After that, press the Install Now -> Activate button.
Then, you just go to Settings -> Insert Headers and Footers and paste the code above to the header box. Finally, let’s save your change.
Closing thoughts
In conclusion, with the guide we have already shared with you in the blog, we hope that you can add a favicon to your WordPress site effectively. If you have any question, don’t hesitate to leave your comment below. Furthermore, whenever you desire to change a new theme for your site, let’s visit our Free WordPress Themes here.

- Resolving the “Class JFactory Not Found” Error in Joomla When Upgrading to J6 - December 19, 2025
- The Utility Of VPNs For Site Authors And Admins - November 24, 2025
- Joomla! 6: What’s New and How to Upgrade from Joomla! 5 - October 23, 2025


Recent Comments