
Step By Step Adding Joomla 3 Banner
By default, Joomla 3 comes with a component for managing banners that you can add different banners, organise them into categories and display them in different places on your website. To add Joomla 3 banner, follow these steps:
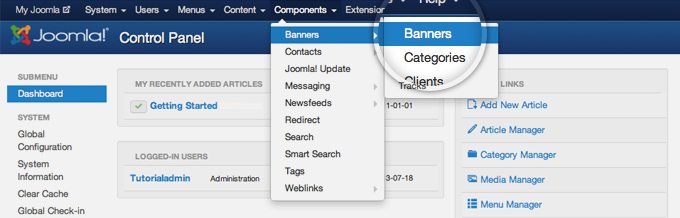
Step 1: The first thing you need to do is to log in to your Joomla admin area and go to Components -> Banners -> Banners.
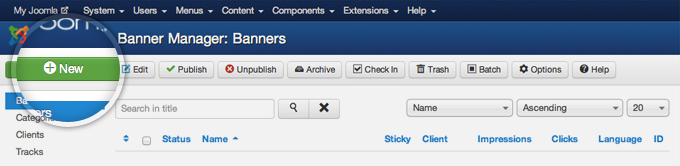
Step 2: Click on the “New” button.
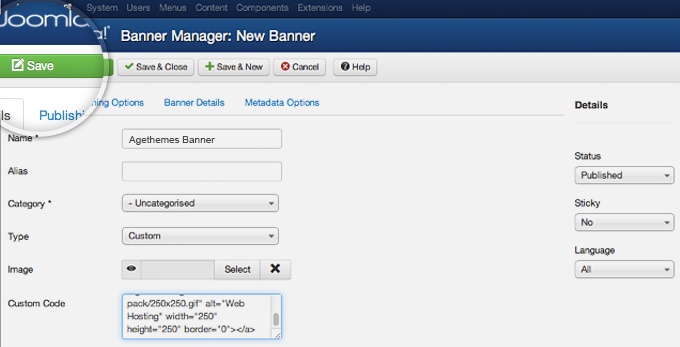
Step 3: Fill in some information for the banner you’re adding and its code. Choose name and select Custom from the Type drop-down. Now you can paste the banner code into the Custom Code field and press the Save & Close button.
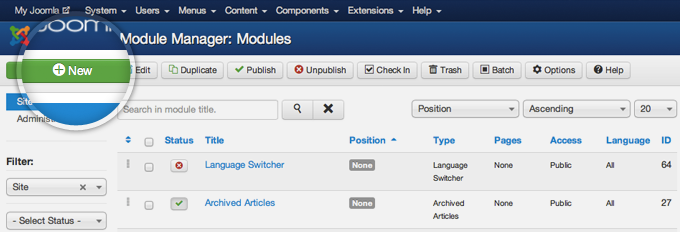
Step 4: Go to Extensions -> Module Manager.
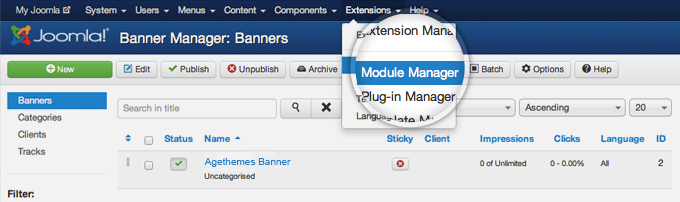
Step 5: Press the “New” button to add new module to your website.
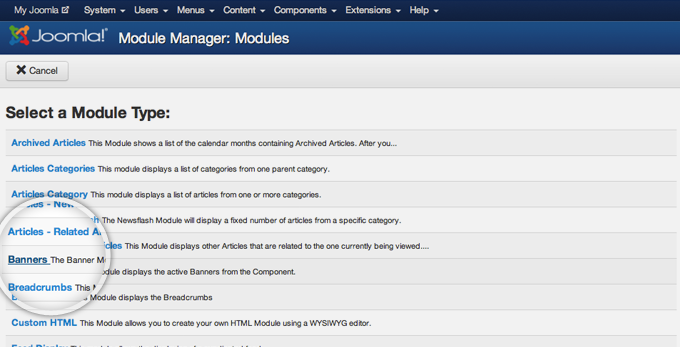
Step 6: Click on the “Banners” link!
Step 7: Now, let’s choose a title for the module and the position where it will be displayed.
Then press the “Save” button at the top left part of the page.
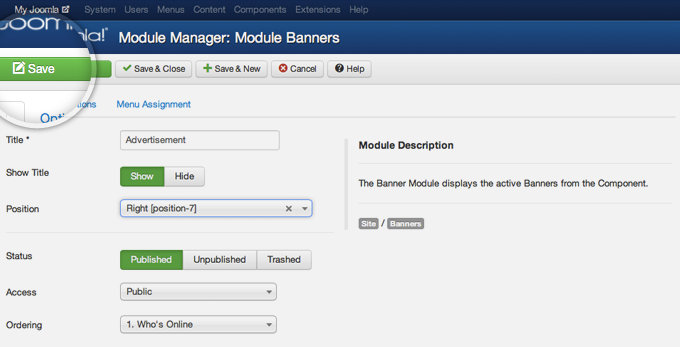
Note that the available positions and their names depend on the template you’re currently using. Different templates have different places where you can add modules (in our case – banners).
You’re done, you can see your newly created banner on your browser.

Thanks for your reading, and if you have any questions with this blog, please don’t hesitate to let me know by leaving a comment.

- Resolving the “Class JFactory Not Found” Error in Joomla When Upgrading to J6 - December 19, 2025
- The Utility Of VPNs For Site Authors And Admins - November 24, 2025
- Joomla! 6: What’s New and How to Upgrade from Joomla! 5 - October 23, 2025


Recent Comments