As uploading image Using K2 via Media Manager, you also need to resize the image to be either the exact size or a few pixels larger than its dimensions on your site when you upload image via Image Tab.
Come on, let’s find out how to Upload Image Using K2 via Image Tab!
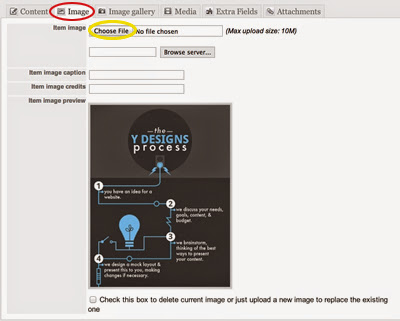
There is only one image per item/category uploaded in this manner. The image is usually the main image for the given item/category.
To upload image via Image Tab, you click on the “Choose File” button and select the file you want to upload from your computer.
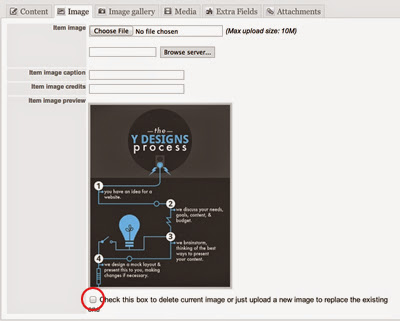
If you would like to delete your main image, check the box located at the bottom (displayed below in red), and click the orange save button.
It’s simple, right? Now, visit your website and view results. Good luck!
Thanks for your reading, and if you have any questions with this blog, don’t hesitate to let us know by leaving a comment.

- Resolving the “Class JFactory Not Found” Error in Joomla When Upgrading to J6 - December 19, 2025
- The Utility Of VPNs For Site Authors And Admins - November 24, 2025
- Joomla! 6: What’s New and How to Upgrade from Joomla! 5 - October 23, 2025


Recent Comments