
Do you already know how to add keywords and meta descriptions in WordPress? If not, don’t ignore this detailed guide below. First and foremost, we will give you some necessary information to understand more about this topic.
What are keywords and meta descriptions in WordPress?
- A keyword is a primary term or phrase in SEO that helps you describe the content of a blog post or webpage. It can be a short or long phrase that people search on Google or other search engines to find something.
- A meta description is a meta tag that provides a 155-160 character summary describing the content of a web page. This answers the question of what a meta description is. Search engines will show the meta description in the results when it contains the keywords being queried by the user.
Why should you add keywords and meta descriptions in WordPress?
Keywords and meta descriptions are key to improving your website ranking. They help you give search engines summary information about the content of your posts or pages.
In addition, adding keywords and meta descriptions brings you a lot of benefits when they show up in Google search results:
- Improve the click-through rate thanks to the brief explanation of a web page on the SERPs.
- Assist your website to get a better ranking faster thanks to the increased click-through rate over time.
- Make your website more user-friendly with a better appearance on the SERPs.
- Help the users to quickly pick out the most suitable web page from a wide range of search results.
- Increase the number of leads on your website thanks to the increased number of visitors.
How to add keywords and meta descriptions in WordPress?
Honestly, there is a wide range of useful tools that are available on the internet. They can give you the ability to add keywords and meta descriptions to optimize your content. However, in today’s tutorial, we will keep things simple by using Yoast SEO, because it is one of the best plugins that help your website get a better ranking on search engines. In addition, it is extremely easy to set up and use. Now, let’s start.
Solution: Using Yoast SEO
With over 5 million active installations, it is widely agreed that Yoast SEO is one of the most powerful WordPress SEO plugins that can help you rank higher in search engines. This plugin offers a wide range of creative and useful features such as title and meta description templating, an in-depth Schema.org integration, and much more.
Moreover, it integrates seamlessly into a range of themes and plugins including Zapier, Algolia, etc. This plugin comes in 2 versions: free and Pro. In today’s blog, we will give an example with the free version.
Stage 1: Installing and activating Yoast SEO
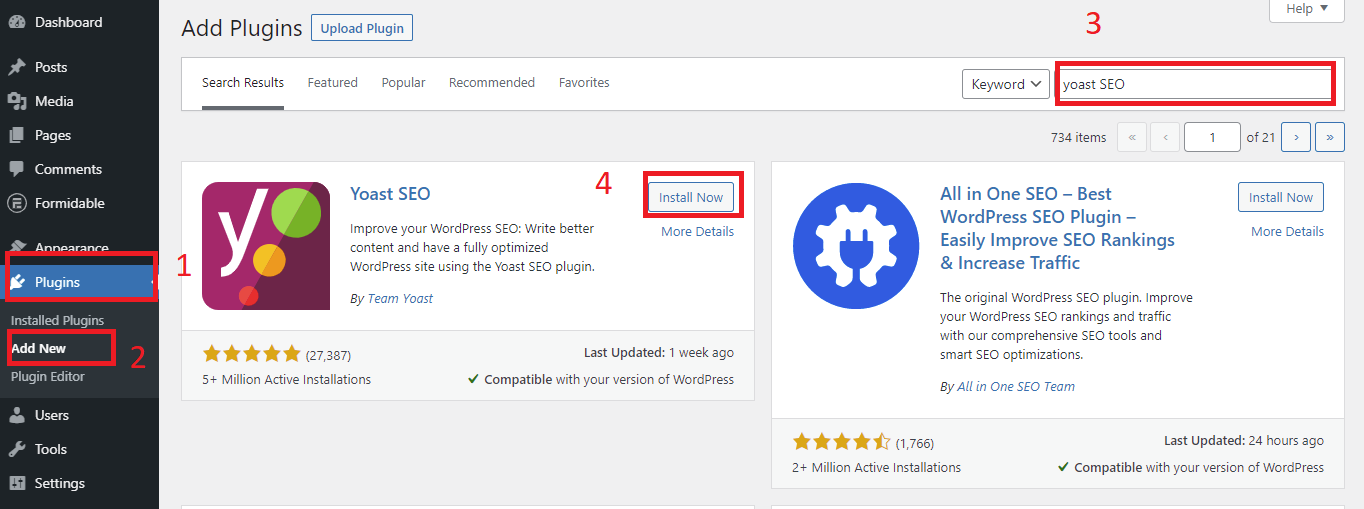
If you haven’t installed Yoast SEO yet, go to Plugins> Add New on your dashboard, and then type the name of the plugin in the search bar. You will see the Yoast SEO plugin as in the screenshot. Install and activate it.
Stage 2: Configuring Yoast SEO
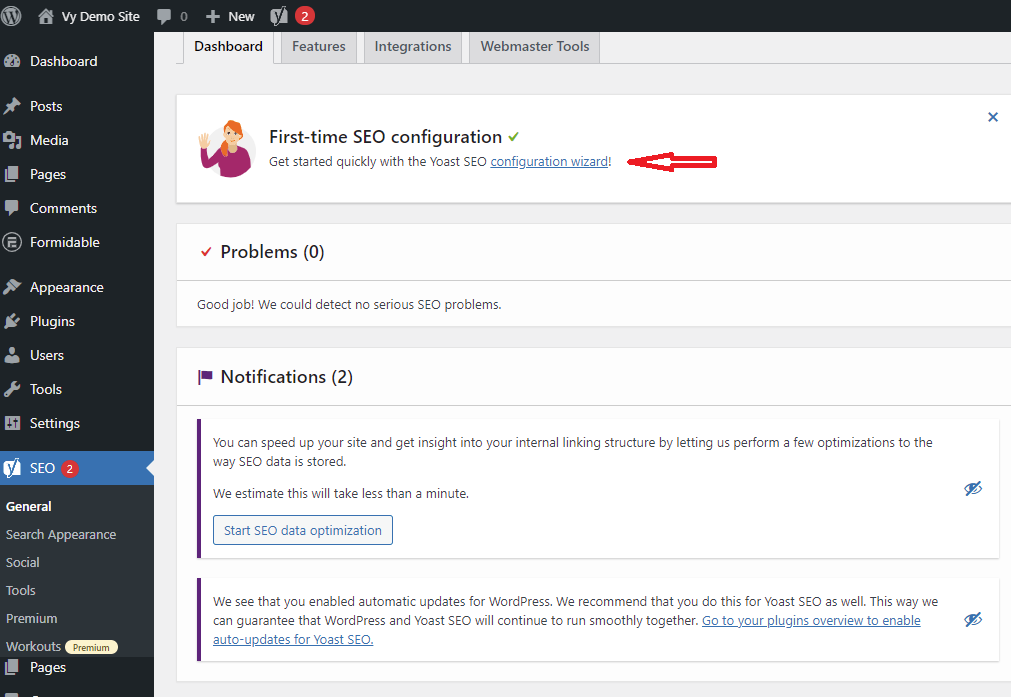
First, click on the SEO section in your WordPress sidebar. This will take you to your Yoast dashboard. Click on Configuration wizard to configure settings.
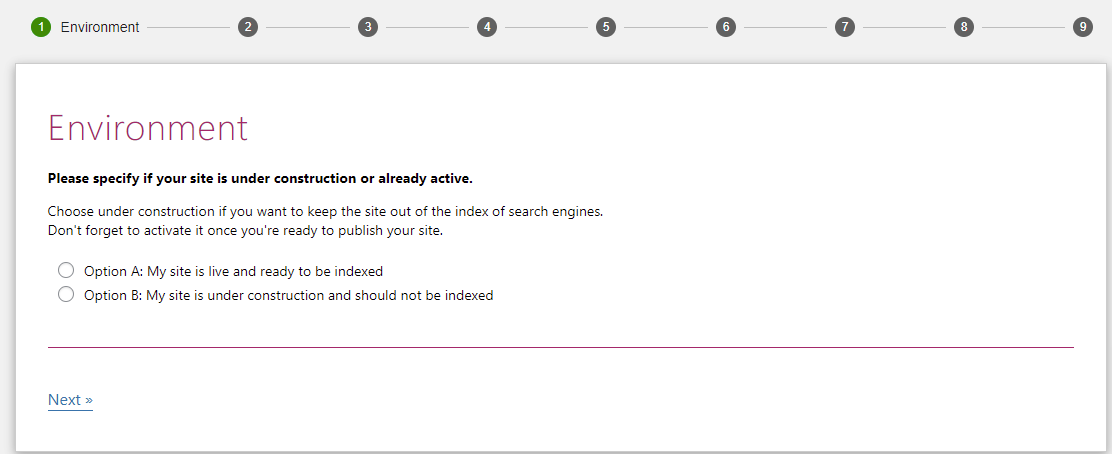
Here, Yoast SEO provides 9 steps to finish the configuration. The first question is about the environment: Yoast SEO wants to know what state your website is in.
If you select under construction and should not be indexed, Yoast SEO will prevent your site from being indexed by search engines, which helps avoid issues such as duplicate content.
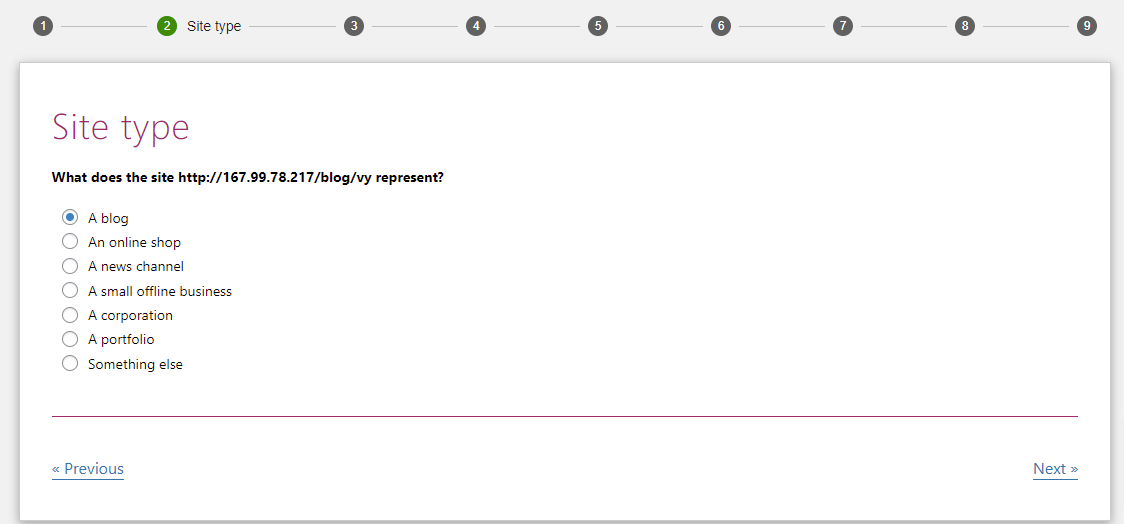
In the next step, you need to choose the type of your website, this question depends on your current website. In our case, we are creating a personal blog, so we will select “a blog” option.
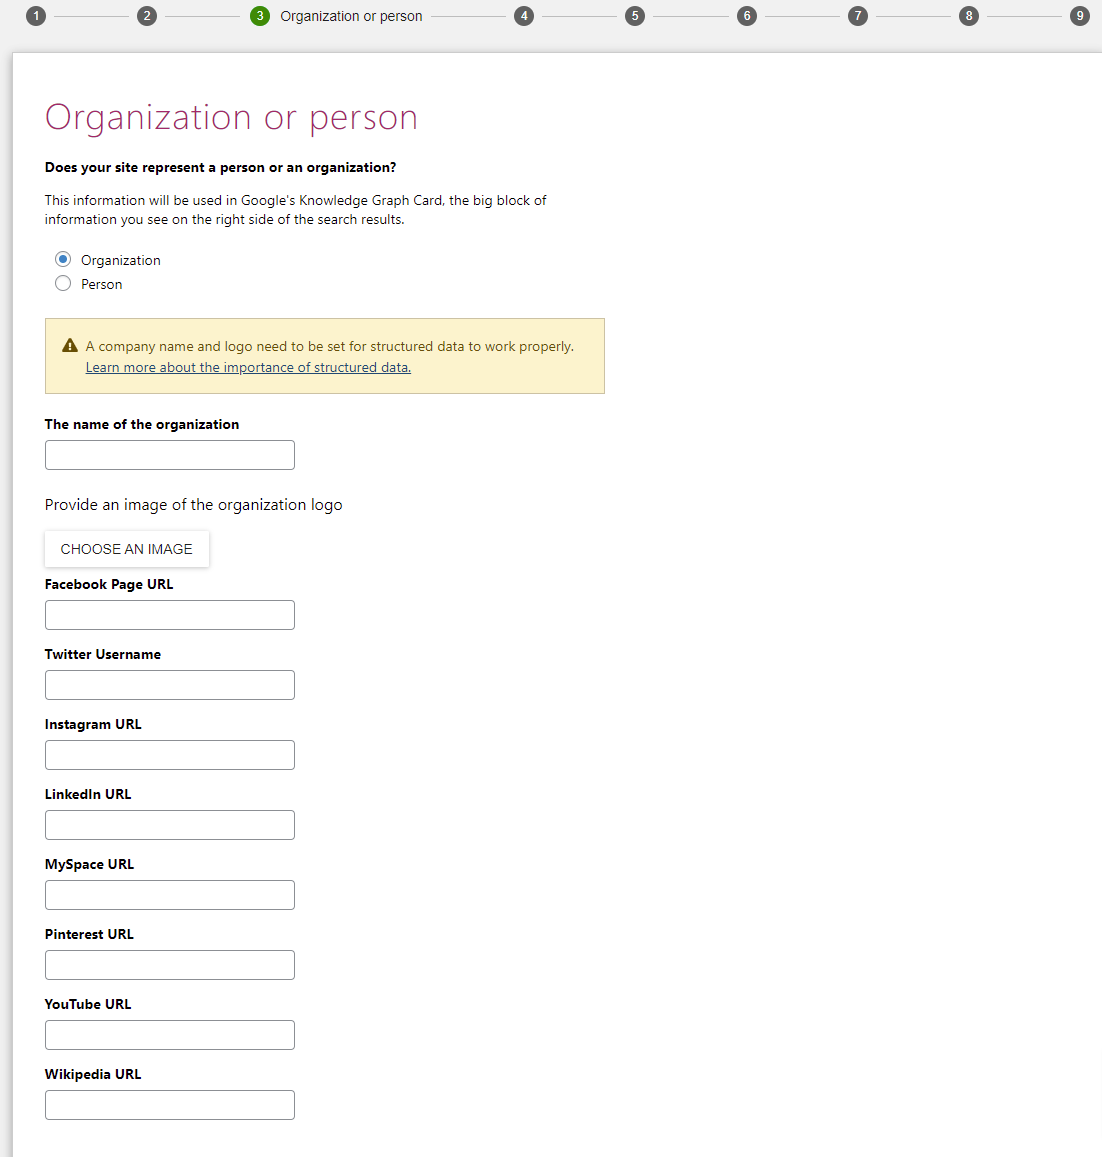
In this section, Yoast asks whether you are a person or an organization. If your site is for a company, you should choose the organization option. Then you have to fill in the fields below, including the name of the organization, the logo image, and social media URLs.
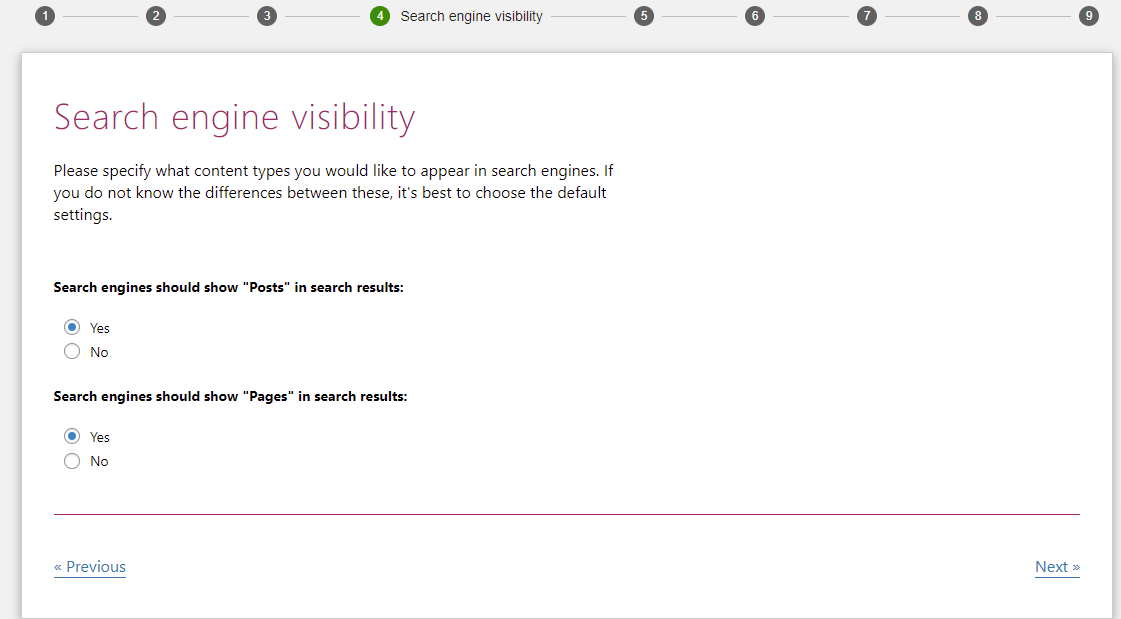
Next, you can choose what types of content or pages you would like to show to search engines. We recommend skipping this question and keeping the default settings.
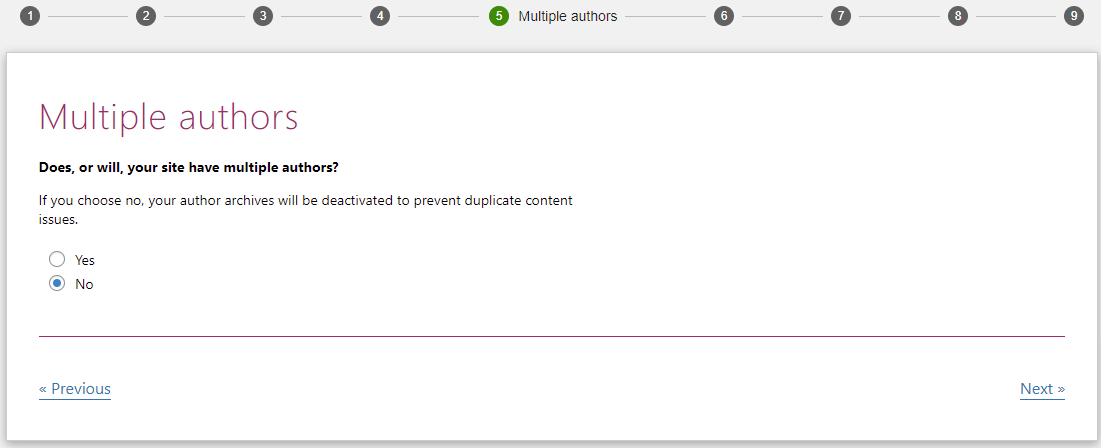
Another question is whether your site has multiple authors. This question depends on the number of authors on your site. If posts on your website are published by one author or just some authors who are using the same user name, you should choose “No”.
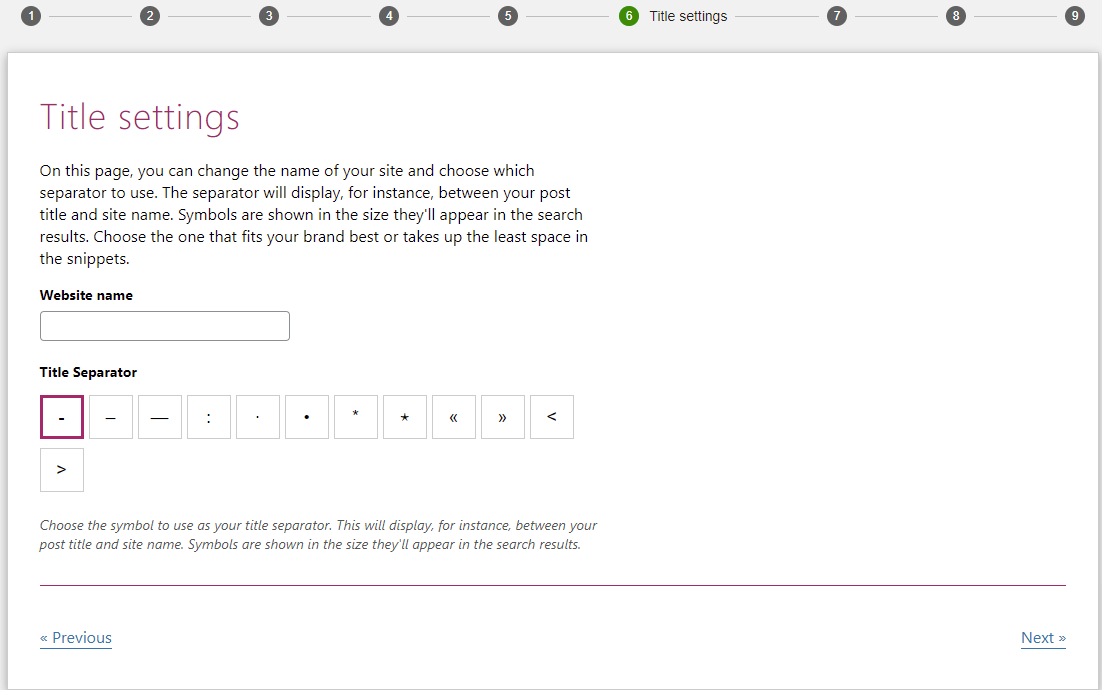
The next step is Title settings. You need to enter your website name. After that, you have to choose any symbol and use it as a title separator. This symbol will appear in the search results after your SEO title.
For example, we choose a simple dash, and then this is how it looks.

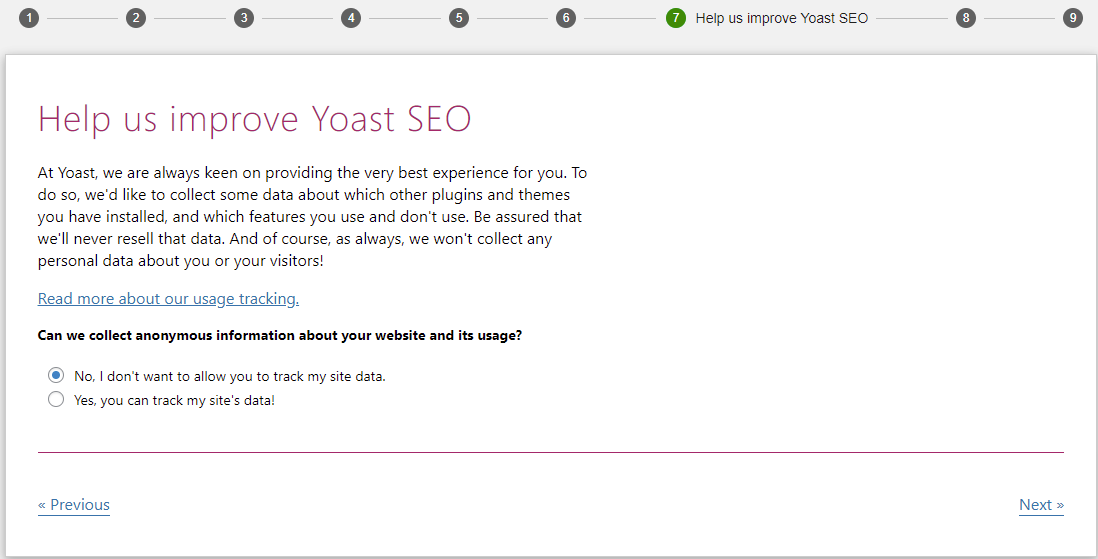
After that, Yoast SEO asks whether it can collect some anonymous information about other plugins and themes on your website. If you don’t want this tool to track your site data, you should choose “No” option to protect your site.
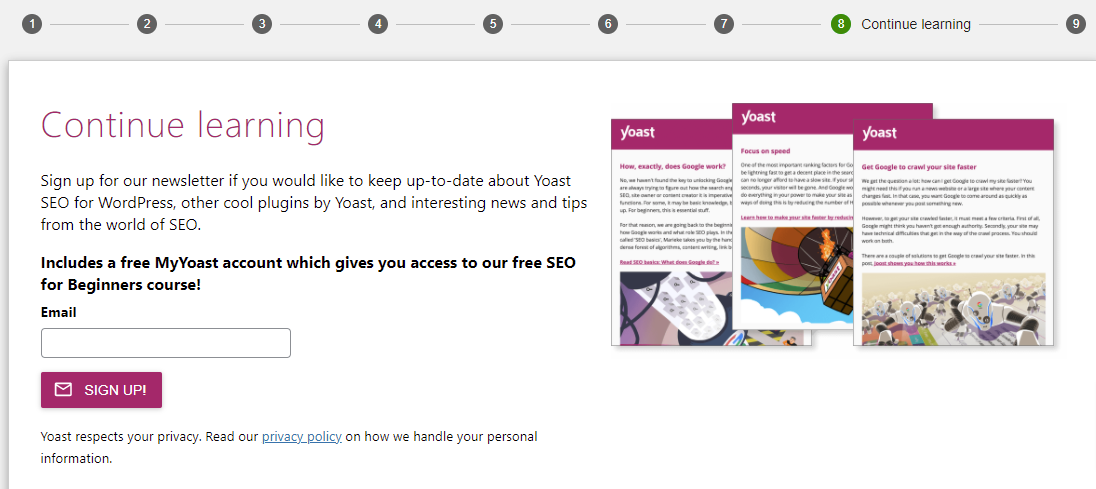
Yoast SEO allows you to sign up for Yoast’s newsletter. We recommend signing up if you are a beginner, so you can continue to learn. However, you can leave this section if you want to learn by yourself.
After completing this step, you have just finished the configuration process. Now, let’s start adding keywords and meta descriptions in WordPress.
Stage 3: Add keywords and meta descriptions for your posts/pages
To add keywords and meta descriptions, first create a new post in WordPress. Then scroll to the bottom of your post, where you will see the Yoast SEO box.
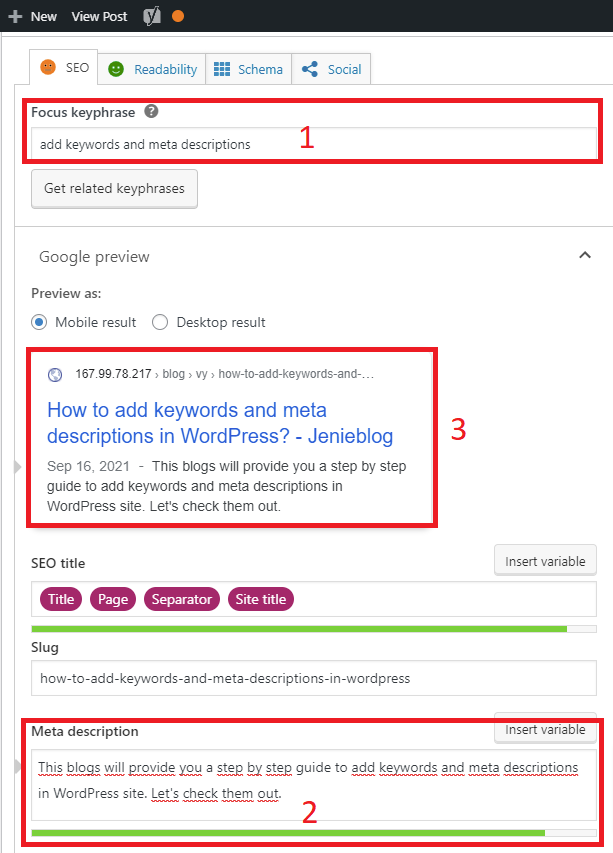
In this box, you need to fill in 2 areas. In the first area, you have to enter a short keyphrase to help the SEO analysis tool evaluate your content with the right keyphrase in mind.
In the second area, add a meta description with a character count of between 120 and 160. A good meta description is a concise but compelling summary of the content of your post. However, you should avoid simply listing keywords; instead, include them naturally in the description. Moreover, you should use some impressive words to inspire readers to click on your post and learn more.
And after that, your meta description will be displayed below the title and URL in search engine results as in the third area below.
Next, it is time to look at its SEO-friendliness. However, you have to make sure that you have set the focus keyphrase. The SEO analysis will help you evaluate how well your content is optimized to rank for that particular keyword phrase.
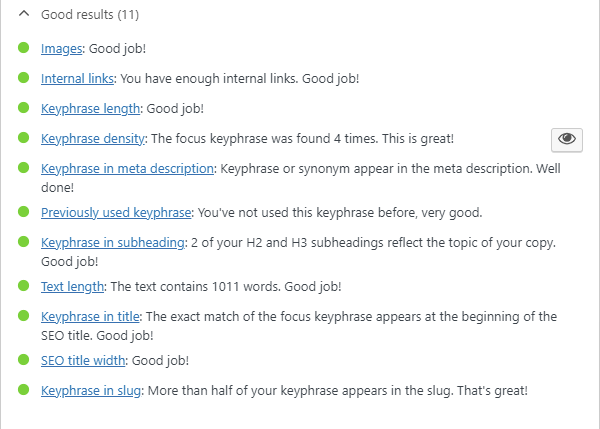
Scroll down and click on the SEO analysis section below the meta description field. Here, it will show mistakes and suggestions with red and orange bullets that you need to fix to optimize your content.
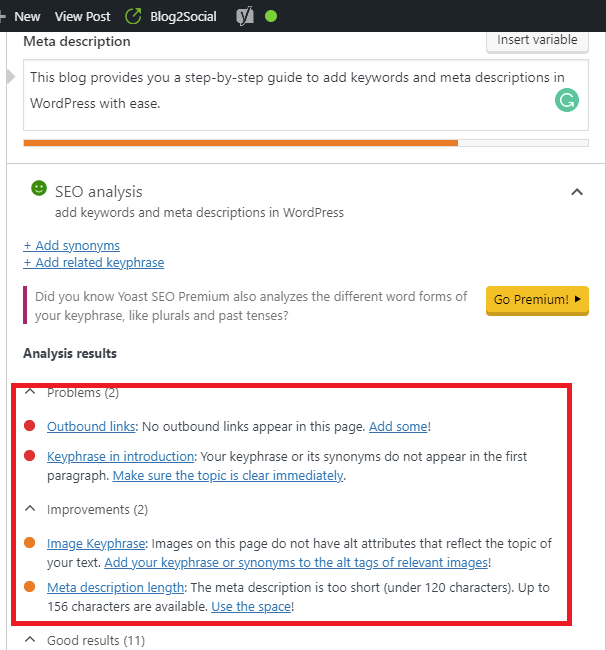
On the other hand, if you have optimized all aspects of your content, it will show good points with green bullets. Nevertheless, green bullets don’t guarantee that your post will have a higher ranking on search engine results, since it also depends on many other factors. We will cover these factors in future blogs.
Stage 4: Add keywords and descriptions to your category and tag archive pages
Firstly, you need to go to Posts> Categories/Tags on your dashboard, and then click on the “Edit” link.
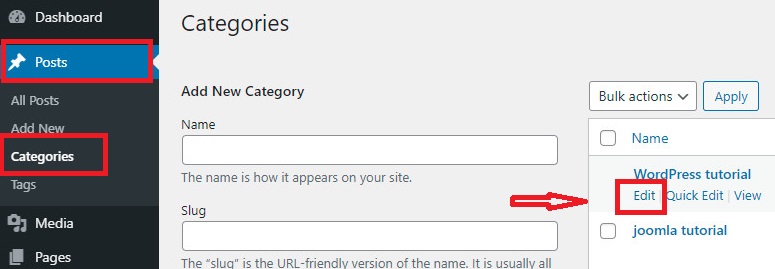
Next, scroll down to the Yoast SEO box and add keywords and meta descriptions as in the previous steps. Don’t forget to save the changes before moving on.
Summary
We have just provided a step-by-step tutorial to help you add keywords and meta descriptions with ease. Hopefully, this blog helps you improve your website ranking on Google search results. If you have any queries or encounter any problems while using this plugin, don’t be afraid to mention it in the comment section below.
Moreover, if you want to explore other options that also allow you to add keywords and meta descriptions, let’s take a look at WordPress SEO Plugin to choose another one. Thanks for reading.