Our HikaShop for Joomla 3.x tutorial series continues, and in this article we’ll discuss uploading product images. In our previous article, we added our first product. Now, we will add a picture to your product.
To add product images in HikaShop for Joomla 3.x:
Step 1: Log into your Joomla Dashboard
Step 2: In the top menu, hover over Components and click HikaShop to access the HikaShop Dashboard.
Step 3: Click the Products icon and click the Product Name that you would like to change the image
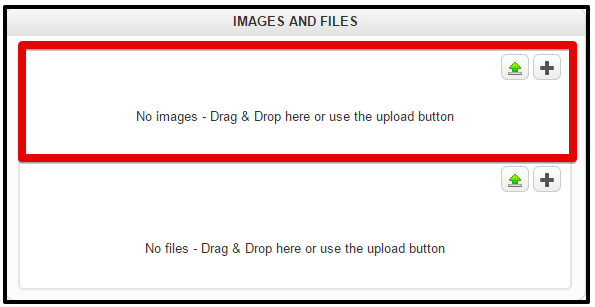
Step 4: For this, three methods are possible :
Drag & Drop : Open the folder where your image is on your computer and drag & drop it in that area of the page. It will then automatically upload and add it.
Upload button : By clicking on this button , HikaShop will open a window in order to browse to your image path on your computer.
Add button : Use this if your image is already on your website. It will open a window in order to show your images.
Step 5: Your image will be selected and added to your product. Then, click Save in the top right menu.
Hi, We're document team, we write document for all products from our company. You can reach our Document Portal. If you have any questions or problem during using our products, feel free drop comment, we will come to help you shortly.
We use cookies to improve your experience on our website. By browsing this website, you agree to our use of cookies.
Functional
Always active
The technical storage or access is strictly necessary for the legitimate purpose of enabling the use of a specific service explicitly requested by the subscriber or user, or for the sole purpose of carrying out the transmission of a communication over an electronic communications network.
Preferences
The technical storage or access is necessary for the legitimate purpose of storing preferences that are not requested by the subscriber or user.
Statistics
The technical storage or access that is used exclusively for statistical purposes.The technical storage or access that is used exclusively for anonymous statistical purposes. Without a subpoena, voluntary compliance on the part of your Internet Service Provider, or additional records from a third party, information stored or retrieved for this purpose alone cannot usually be used to identify you.
Marketing
The technical storage or access is required to create user profiles to send advertising, or to track the user on a website or across several websites for similar marketing purposes.

 , HikaShop will open a window in order to browse to your image path on your computer.
 if your image is already on your website. It will open a window in order to show your images.


Recent Comments